In this tutorial we are going to display text on the RP2040-Matrix using Visuino.
Watch the Video!
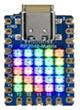
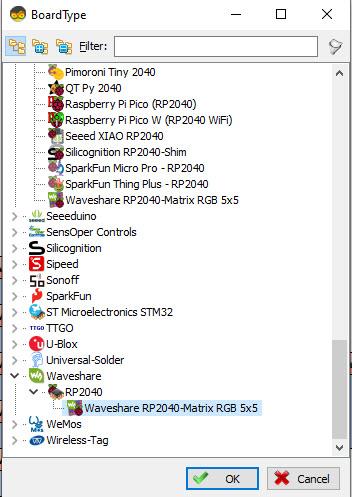
Step 2: Start Visuino, and Select the Waveshare RP2040-Matrix RGB 5×5 Board Type
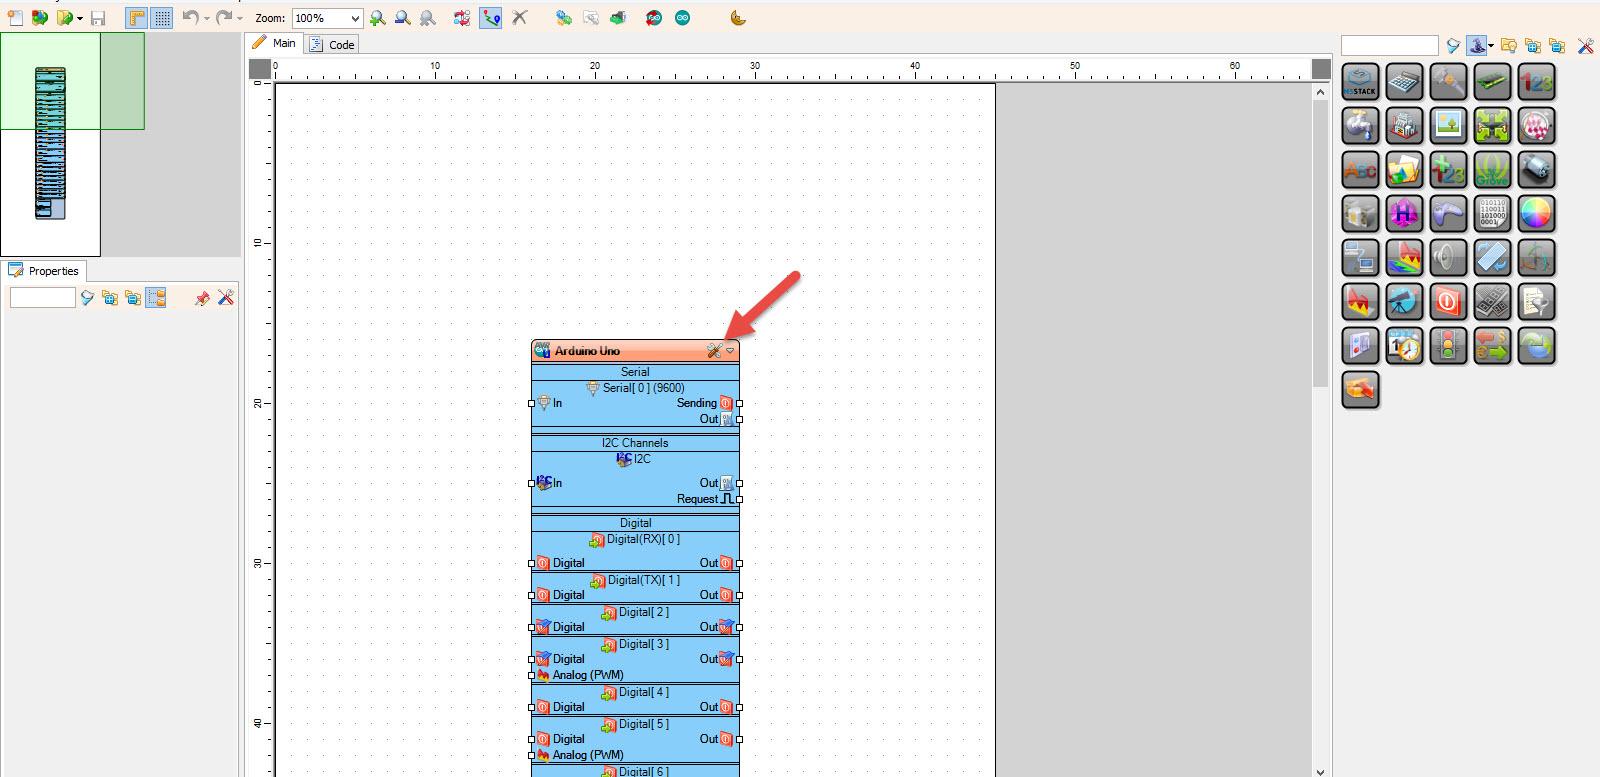
Start Visuino as shown in the first picture Click on the “Tools” button on the Arduino component (Picture 1) in Visuino When the dialog appears, select “Waveshare RP2040-Matrix RGB 5×5” as shown on Picture 2
Step 3: In Visuino Add Components
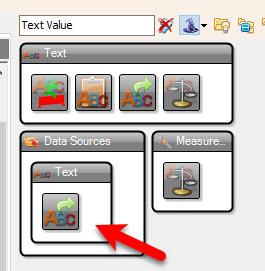
In this example we are going to display text “VISUINO”, because word Visuino has 7 letters we will add
- 7X “Text Value” component
also add:
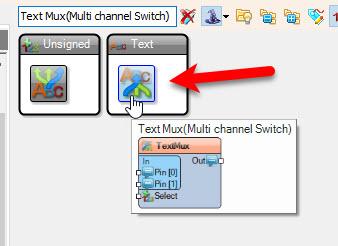
- “Text Mux(Multi channel Switch)” component
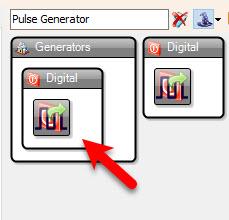
- “Pulse Generator” component
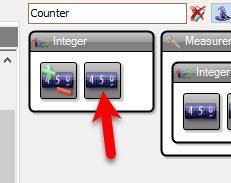
- “Counter” component
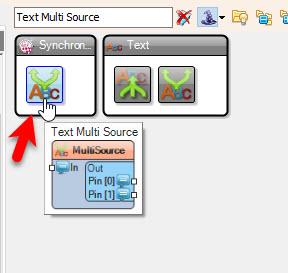
- “Text Multi Source” component
Step 4: In Visuino Set Components
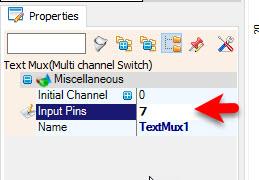
- Since our word Visuino has 7 letters we will select “TextMux1” and in the properties window set “Input Pins” to 7
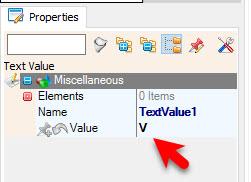
- and in each “Text Value” component we will add one letter, for example “Text Value1” we set in the properties window “Value” to V, “Text Value2” we set in the properties window “Value” to I and so on
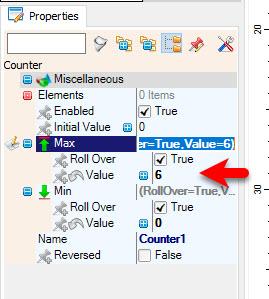
- Also select “Counter1” and in the properties window set “Max>Value” to 6, so the amount of letters -1
- Select “MultiSource1” and in the properties window set “Output Pins” to 3
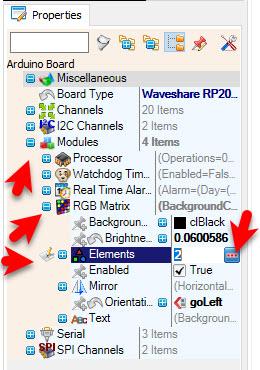
- Select Waveshare RP2040-Matrix RGB 5×5 and in the properties window expand “Modules” > “RGB Matrix” and click on the “Elements” 3 dot button.
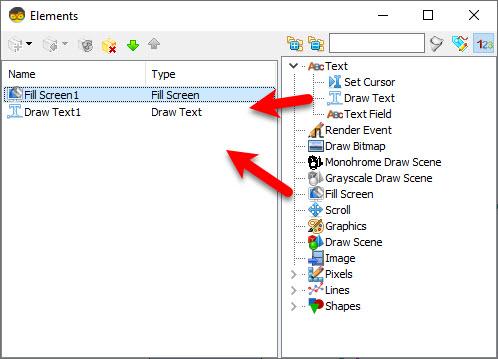
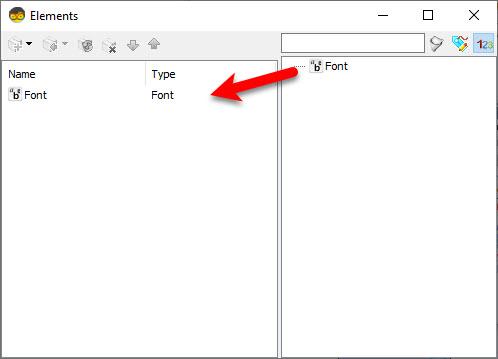
- In the “Elements” window :
- drag “Fill Screen” to the left side
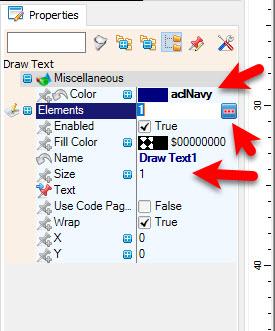
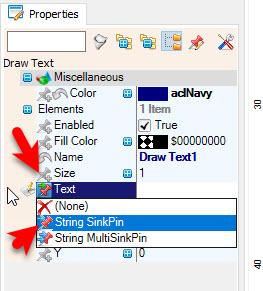
- drag “Draw Text” to the left side, and in the properties window set “Color” to aclNavy or any other color,
- Select “Text” and click on the Pin icon and select String SinkPin
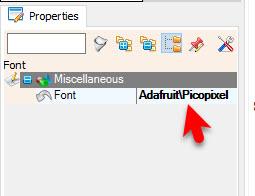
- Select “Elements” and click on the 3 dot button, in the “Elements” window drag “Font to the left side and in the properties window set “Font” to Adafruit\Picopixel
- Close the Elements windows
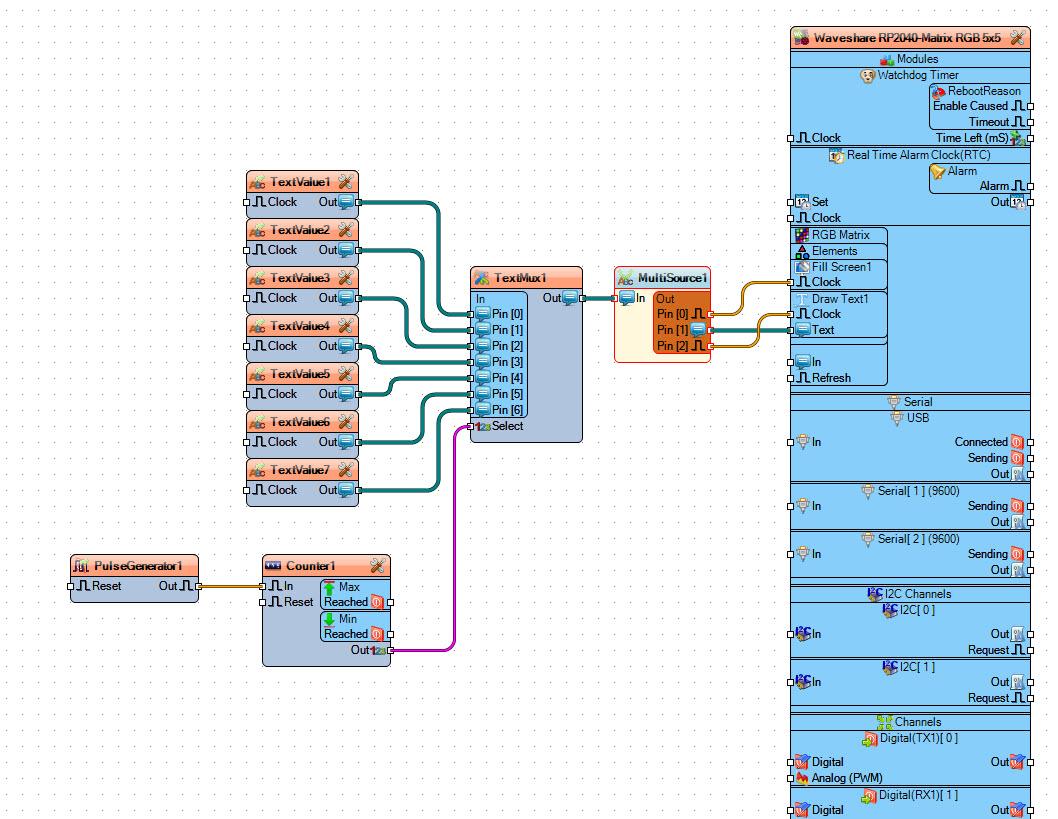
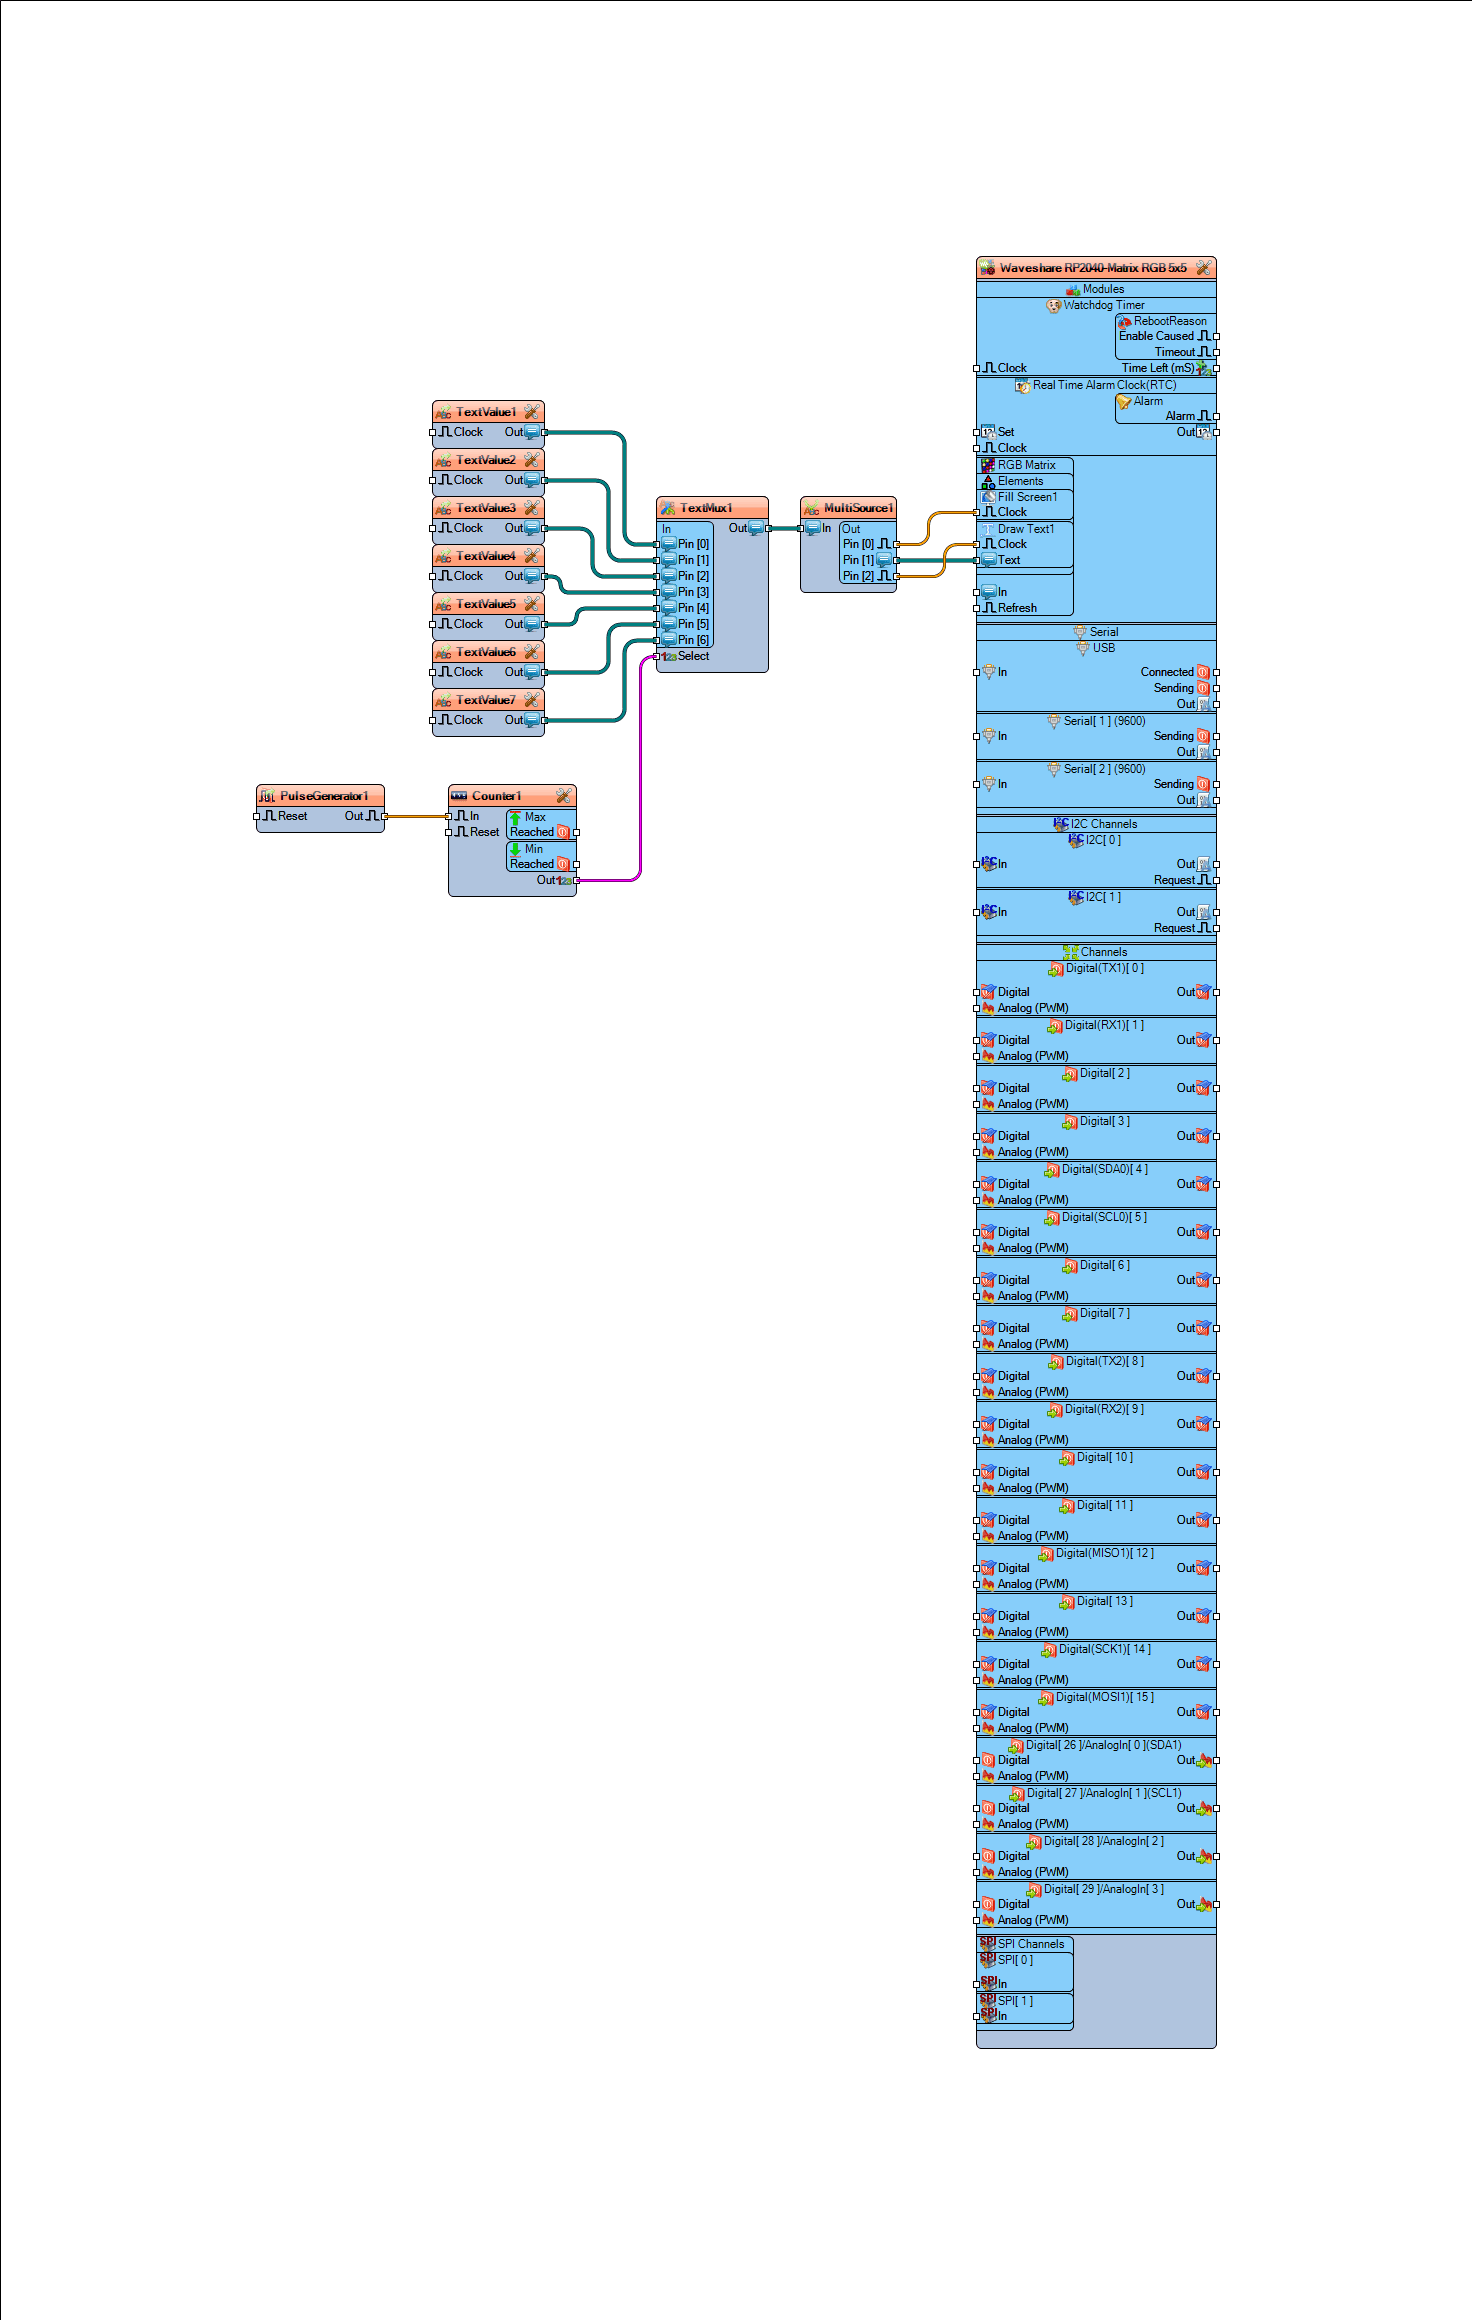
Step 5: In Visuino Connect Components
- Connect “TextValue1” pin [Out] to “TextMux1” pin [0]
- Connect “TextValue2” pin [Out] to “TextMux1” pin [1]
- Connect “TextValue3” pin [Out] to “TextMux1” pin [2]
- Connect “TextValue4” pin [Out] to “TextMux1” pin [3]
- Connect “TextValue5” pin [Out] to “TextMux1” pin [4]
- Connect “TextValue6” pin [Out] to “TextMux1” pin [5]
- Connect “TextValue7” pin [Out] to “TextMux1” pin [6]
- Connect “PulseGenerator1” pin [Out] to “Counter1” pin [In]
- Connect “Counter1” pin [Out] to “TextMux1” pin [Select]
- Connect “TextMux1” pin [Out] to “MultiSource1” pin [In]
- Connect “MultiSource1” pin [0] to Waveshare RP2040-Matrix RGB 5×5 > “Fill Screen1” pin [Clock]
- Connect “MultiSource1” pin [1] to Waveshare RP2040-Matrix RGB 5×5 > “Draw Text1” pin [Text]
- Connect “MultiSource1” pin [2] to Waveshare RP2040-Matrix RGB 5×5 > “Draw Text1” pin [Clock]
Step 6: Generate, Compile, and Upload the Project
- In Visuino, at the bottom click on the “Build” Tab, make sure the correct port is selected, then click on the “Compile/Build and Upload” button.

Step 7: Play
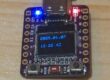
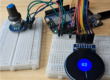
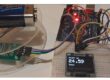
After uploading the project to the Waveshare RP2040-Matrix the RGB LED Matrix will start to Display the text.
You can display any text just make sure to put enough “Text Value” components and set the timer and other components correctly.
Congratulations! You have completed your LED project with Visuino. Also attached is the Visuino project, that I created for this Tutorial. You can download and open it in Visuino: https://www.visuino.com