Teensyduino installation
Teensyduino installation
These instructions will help you in setting up your Arduino IDE for the Teensy drivers and profile items for use with Visuino.
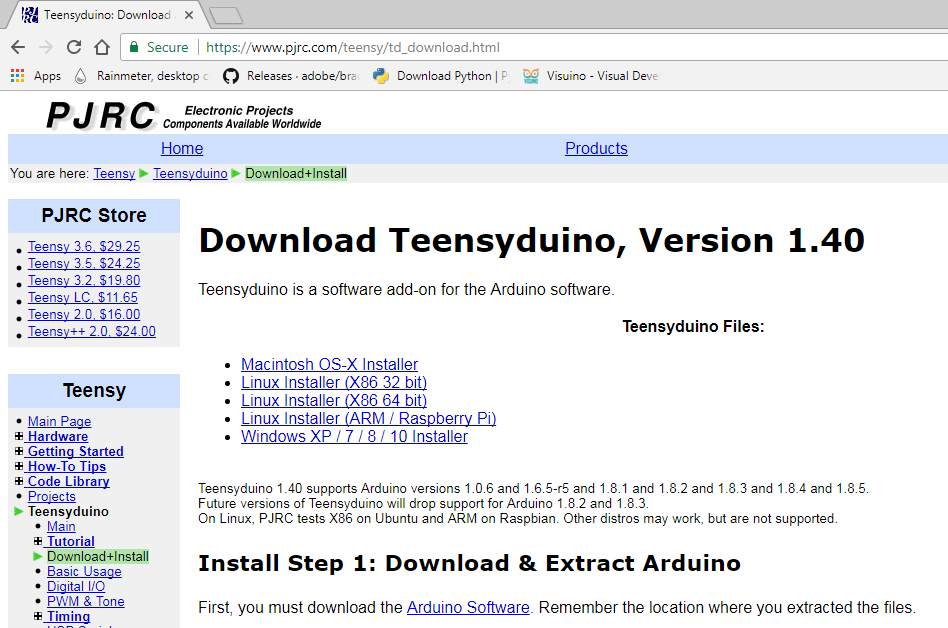
The source for these instructions are located here: https://www.pjrc.com/teensy/td_download.html
Step 1: Download the installer from the above page link.
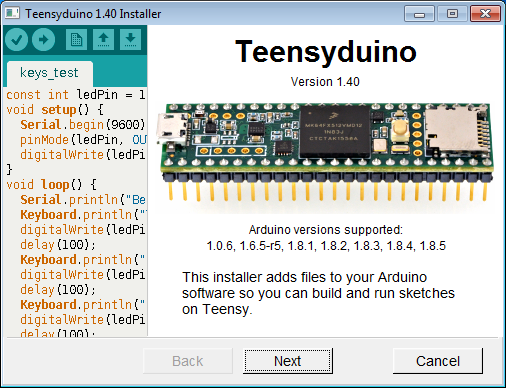
Step 2: Run the installer, your installed version of the IDE has to be on the list displayed on this screen.
Step 3: Follow the instructions presented on each screen.
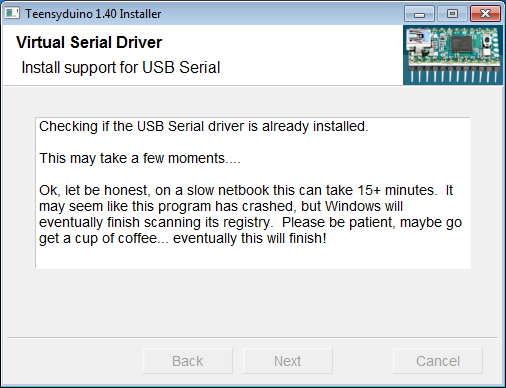
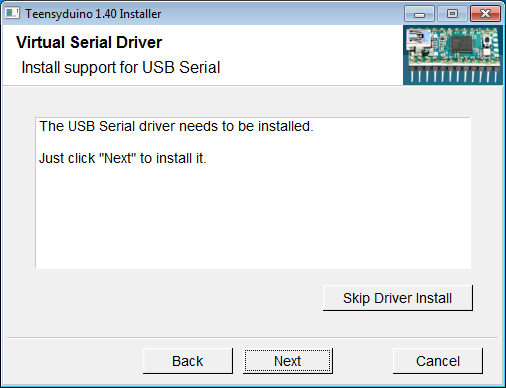
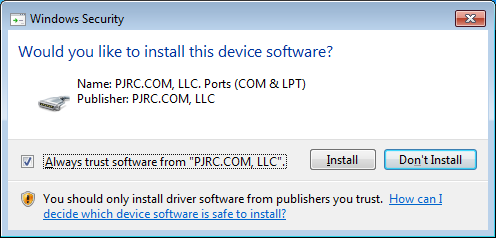
This section installs the Windows Serial Driver on to your system if it doesn't detect it.
This prompt informs you that the driver is requesting permission to install.
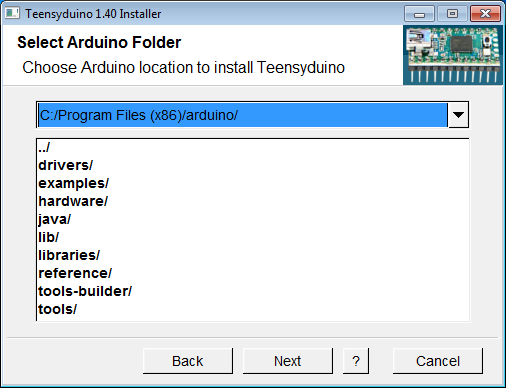
This part allows you to customize the install location if you either don't have it in the default location or want to install it in an alternate place.
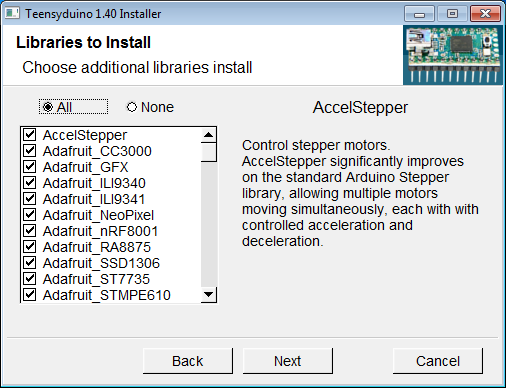
These additional Libraries, for the Teensy, can be installed as long as they are checked off.
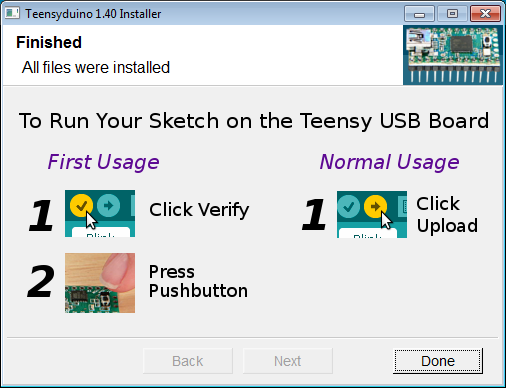
The final screen of the completed installation.
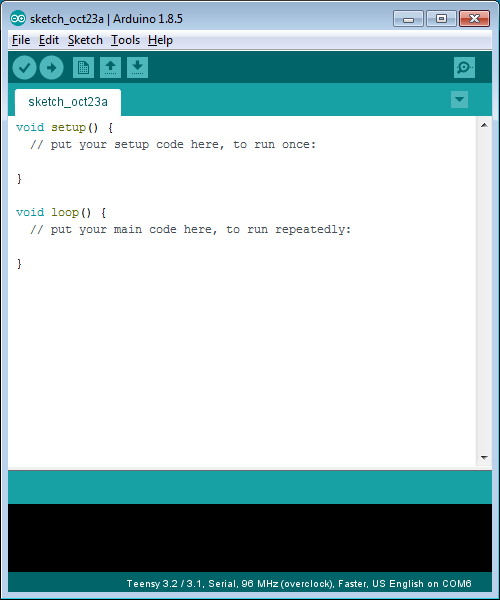
Now open the IDE and at the bottom right-hand corner you should automatically see the Teensy 3.1/3.2 chosen.
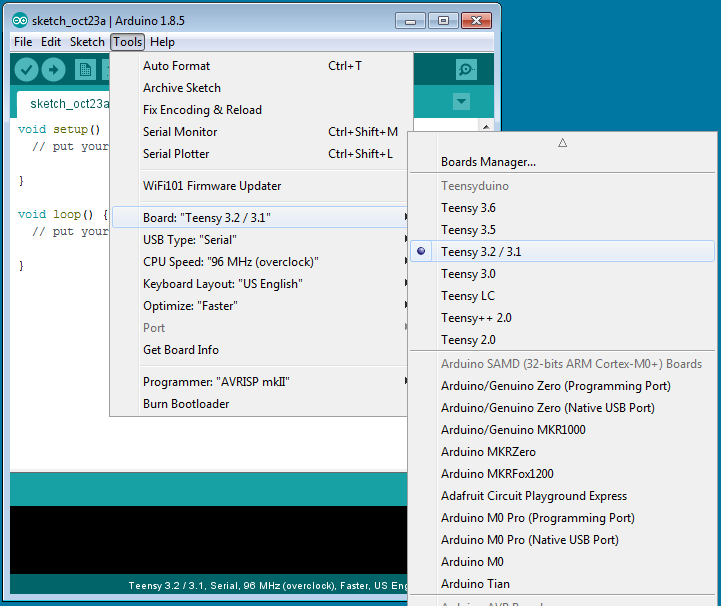
Now open the Boards Manager to check that the rest of the Teensy boards are there as well.
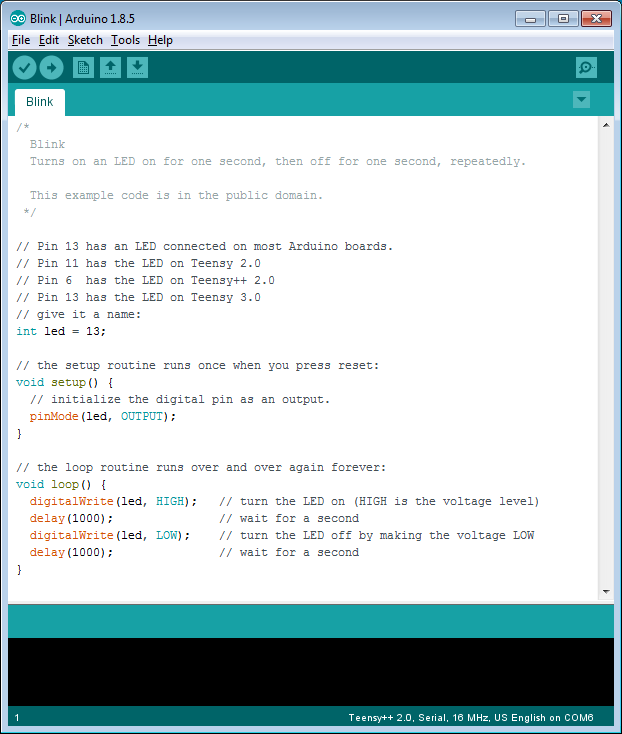
Next, open the Sample Blink sketch and noticed the added text about the Built-in LED pins for the different Teensy boards.
You have now completed the Teensyduino Install.
Have fun!
